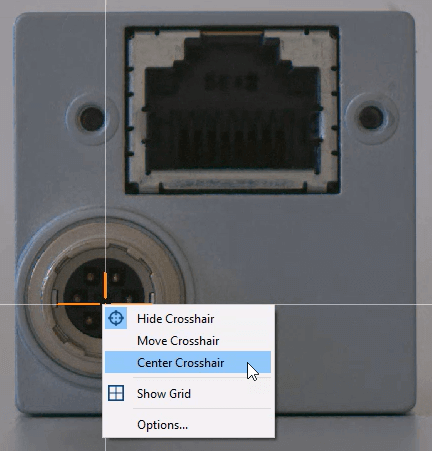
十字線とグリッド#
十字線とグリッドの使用#
十字線またはグリッドを表示/非表示にするには:
- Start image acquisition by clicking the single or continuous shot button on the toolbar.
- Click the Show Crosshair or Show Grid buttons on the toolbar.
Alternatively, right-click in the image display area and select Show Crosshair or Show Grid.
By default, the crosshair is centered in the image. To move it, click the center of the crosshair and drag it to the desired position. Alternatively, you can set the position by providing X and Y values in the Crosshair Options dialog, which you can open via the context menu. The context menu also offers the following options for positioning the crosshair:
- Center in Image: Centers the crosshair in the center of the image.
- Center in View: Centers the crosshair to the center of the currently visible part of the image.
十字線を移動する際にグリッドを表示すると、目的の位置を見つけるのに役立ちます。

十字線とグリッドの変更#
You can modify the appearance of the crosshair and grid. To do so, right-click in the image display area and select Crosshair Options or Grid Options.
In the Crosshair Options dialog, you can manually specify coordinates for the center of the crosshair.
In the Grid Options dialog, you can set the desired grid size (fine, default, or coarse).